How to Restore and Treat Wooden Step on a Boat: A Guide
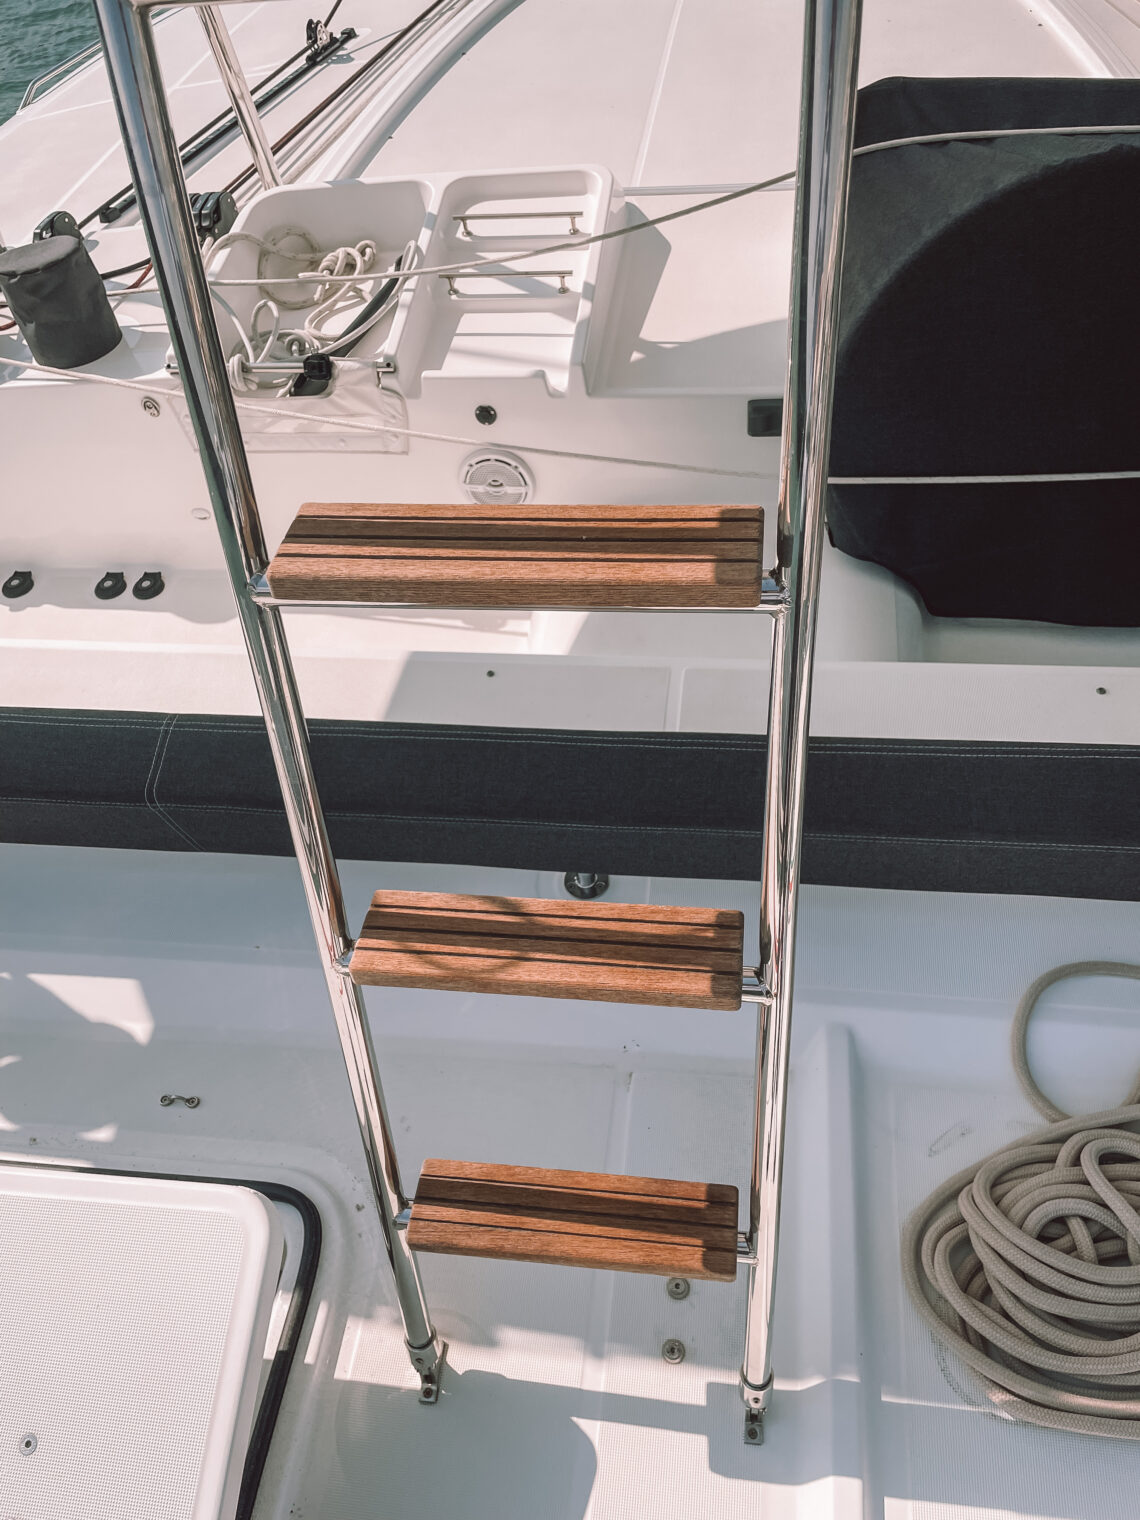
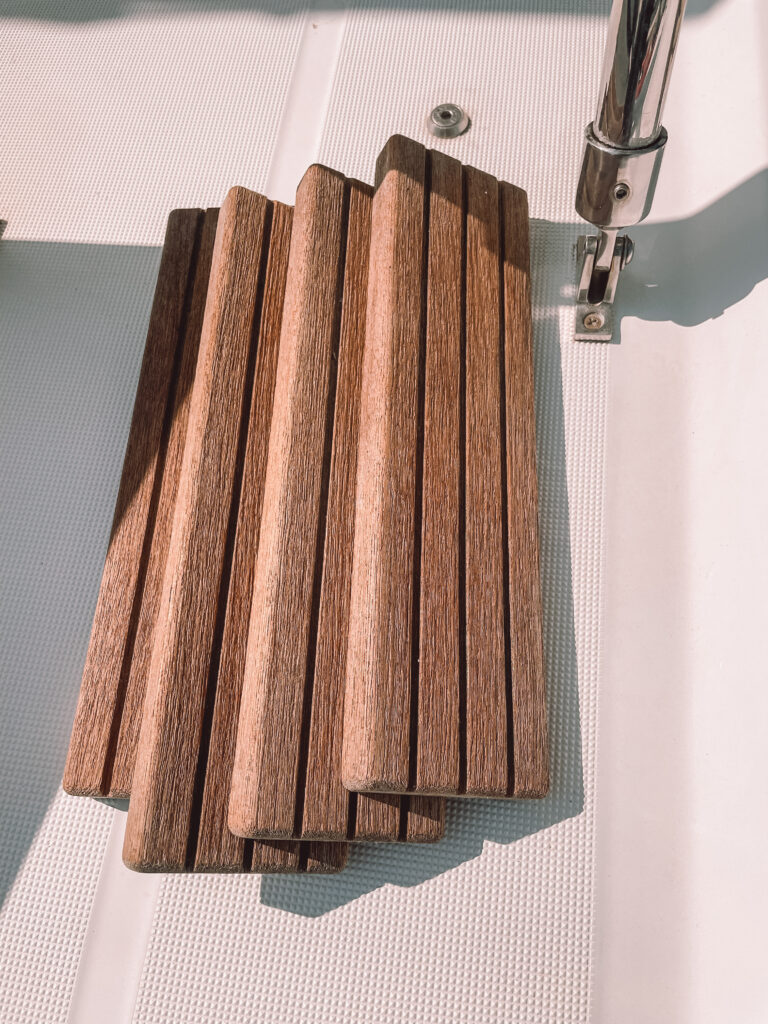
As a boat owner, it’s essential to prioritize regular maintenance and upkeep to ensure the longevity and beauty of your vessel. One area that often requires attention is the wooden step that leads to the roof on the boat’s flybridge. Over time, exposure to the elements can take a toll on the wood, causing it to deteriorate and lose its luster. we will explore the process of sanding and treating the wooden step, revitalizing its appearance and protecting it from further damage.
- Assessing the Condition: Before diving into the restoration process, it’s crucial to evaluate the condition of the wooden step. Look for signs of rot, cracks, or splintering, as these issues should be addressed before proceeding. Ensure the step is structurally sound and make any necessary repairs or replacements before beginning the restoration.
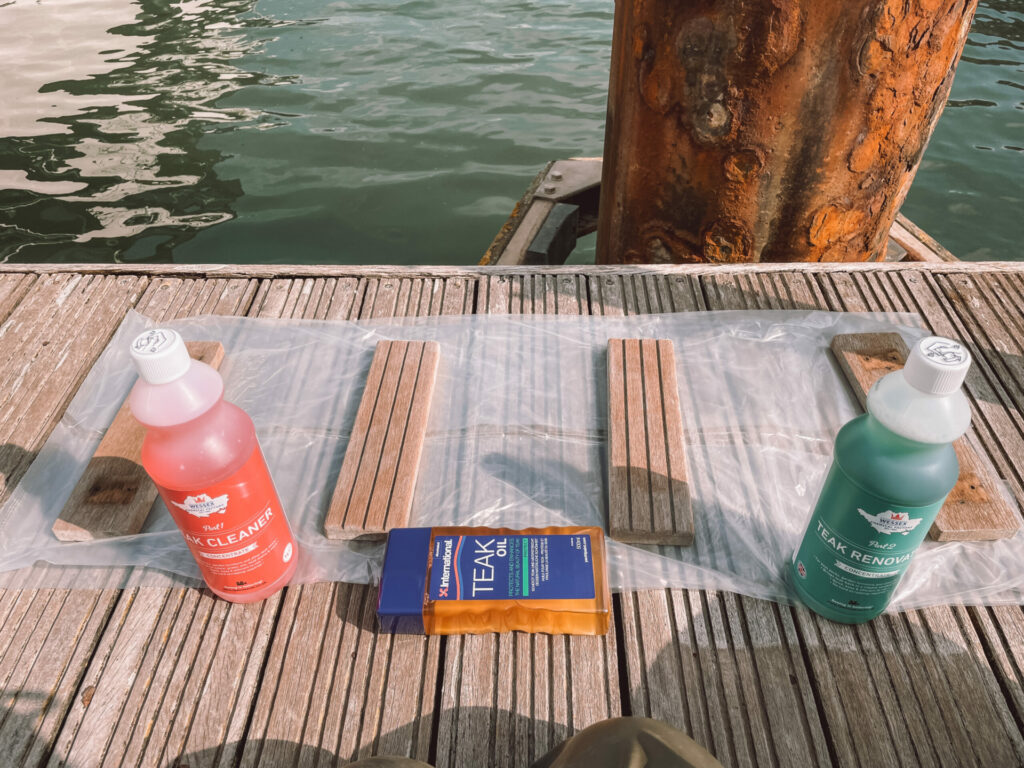
- Gathering the Materials: To undertake this project, you will need the following materials:
- Safety goggles and gloves
- Sandpaper (medium and fine-grit) if the wood needs a bit of sanding.
- Sanding block or electric sander, both can make life a bit easy
- Clean, lint-free rags
- Wood cleaner or mild soap
- Water
- Wood stain
- Varnish or marine-grade polyurethane

- Sanding the Wooden Step: Start by sanding the wooden step to remove any old finish, dirt, or imperfections. Begin with medium-grit sandpaper to smooth out the surface, working in the direction of the wood grain. Use a sanding block or an electric sander for larger areas to achieve consistent results. Once the rough spots have been smoothed out, switch to fine-grit sandpaper for a finer finish.
- Cleaning the Surface: After sanding, it’s important to clean the surface to remove any dust or debris. Mix a small amount of wood cleaner or mild soap with water in a bucket. Dip a clean rag into the solution and gently wipe down the step, ensuring all residue is removed. Allow the wood to dry completely before proceeding.
- Applying the Finish: At this stage, you have the option to apply wood stain or paint to enhance the step’s appearance. Choose a stain or paint color that complements your boat’s aesthetic. Follow the manufacturer’s instructions to apply an even coat, ensuring all areas are covered. Allow sufficient drying time between coats, and apply additional coats as necessary to achieve the desired color intensity.
- Protecting with Varnish or Polyurethane: To safeguard the wooden step from the harsh marine environment, it’s crucial to apply a protective finish. Select a varnish or marine-grade polyurethane that is specifically designed for outdoor use. Using a clean brush or rag, apply a thin and even coat, following the product’s instructions for drying time between coats. Multiple coats may be required for optimal protection.
By investing a little time and effort into sanding and treating the wooden step that leads to the roof on your boat’s flybridge, you can restore its beauty and ensure its longevity. Regular maintenance and protective finishes will help keep the wood in optimal condition, allowing you to enjoy your boat for years to come. With these steps, you can proudly showcase your well-maintained flybridge and take pleasure in the renewed elegance of your vessel. Happy boating!


Disclaimer: Safety should always be a priority when undertaking any DIY project. Follow proper safety guidelines, use protective equipment, and consult professionals if needed.
Disclosure/disclaimer: Hey there! Links on here contain affiliates. When you buy through one of our links (purchase within 24hrs of clicking over from our site), we will receive a small commission. (Every little bit helps) This is at no cost to you. So thank you for supporting us and our odyssey
You May Also Like

Organise Your Boat Galley with Spice Jars and Lazy Susan.
24/07/2023
“Prep and Perseverance: A Lone Sailor’s Journey in Las Palmas
24/01/2024

